June 10, 2019
While I’ve been working with and designing embedded systems for years now, I had never actually used one of the most popular platforms on the internet for this kind of work, Arduino. There’s a few reasons for this, mainly that it wasn’t allowed to be used while I was studying at university and it isn’t really used professionally.
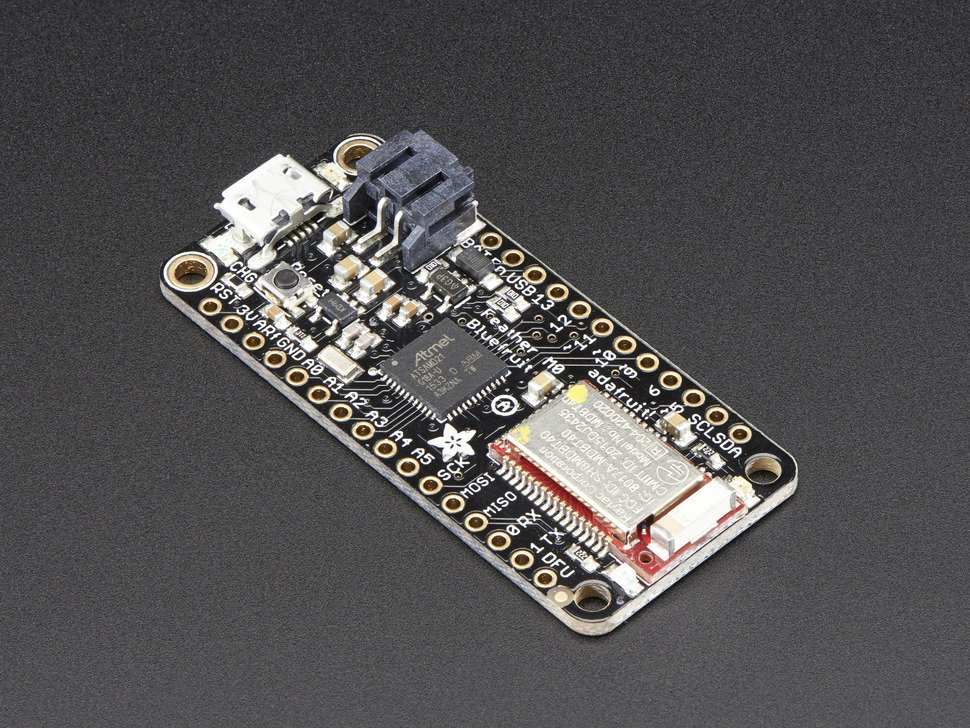
Nevertheless, I felt it was time to see what Arduino had to offer. I decided to start with a series that caught my eye from Adafruit.com. They call them “Feathers” and they’re a standard footprint with an Arduino compatible MCU along with their own custom hardware. Their variations include feathers with protoboards, wifi, cellular radios, GPS, Bluetooth, as well as hats that expand their capabilities even further, all in a nice and compact form factor. For my project I decided to go with a feather that had a Bluetooth low energy chip attached and an Arm core M0 MCU instead of the usual Atmel ATmega which we’ll talk about later.
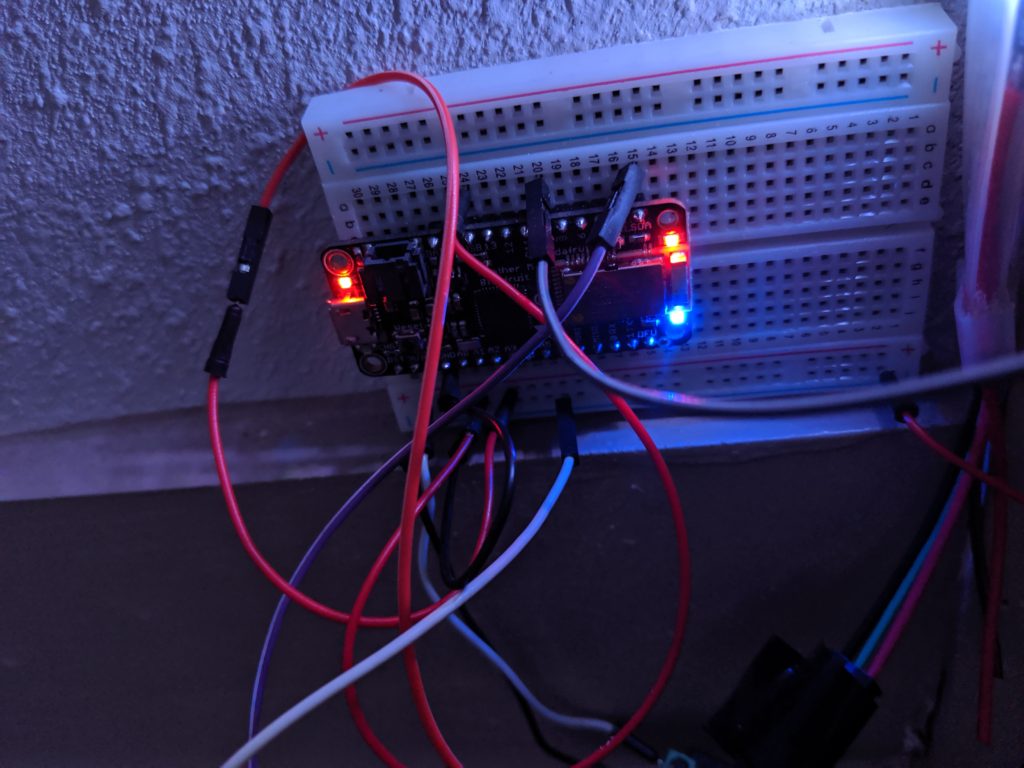
The project itself is a system that controls a string of addressable LEDs that are triggered off the position of a reed switch.
The Arduino IDE itself is clean but a little bare bones compared to environments I’m used to. It works but since the hardware is so sparse and it connects directly to a USB port on my computer, there’s no obvious debugging capability! The next best option is to just to use the COM port to print strings to monitor the program at run time.

Programming was relatively straightforward. The chip itself has a ton more ram and flash than a comparable ATmega core so code size isn’t an issue, but using it had some quirks. The main one I dealt with was using the hardware timers. I was able to find some example code to configure the registers and make sense of it with the core’s datasheet, but using it this way was definitely not the Arduino way of doing things. While that’s not necessarily a bad thing, it is something to keep in mind with using the IDE with a core that isn’t Atmel based!

Integrating Bluetooth communication was MUCH easier. The IDE has a bunch of examples, as well as examples you can download from Adafruit for whatever board you’re using. The BLE chip communicates through an onboard UART port and connecting to it is as simple as downloading Adafruit’s Bluefruit phone app and using it to send strings to the Bluetooth chip, which will pass them on to your MCU. I used this to provide an easy interface to configure the device once it’s powered on.
After a bit of development, I settled on a program that fades in white light up to certain value, and also added a fun color wave feature using another Adafruit library for PWM control on the LED’s communication interface. I ended up sticking all of this in my pantry for some extra lighting!
Overall I’m pretty pleased with the result. While getting to this point took a little longer than expected, a large part of my delays were due to working with a new IDE and using a nonstandard MCU with it. If you’re looking to get into using one of these Feather boards, I’d recommend staying away from the Arm cores if you’re new to Arduino or embedded systems in general. The big numbers you get in terms of clock speeds and flash are nice on paper, but usability with the Arduino ecosystem seems to suffer. This will probably change in the future but for now, I’d stick with ATmega cores.

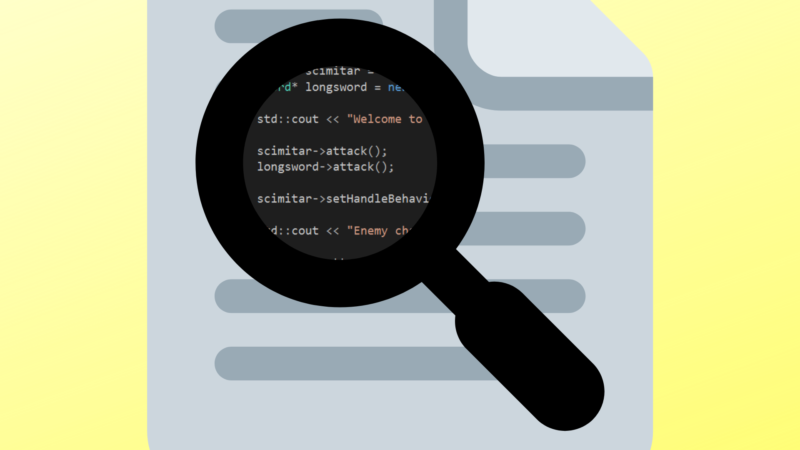
As always, source code is on my Github page linked in the sidebar. Thanks for reading!