August 26, 2019
I recently started a new Github repository from inside the Pycharm IDE recently and began making some initial commits. While I would see messages in the IDE saying the commit was successful, I’d check my Github profile and saw the commits weren’t actually being pushed!
While I did find the answer in some online forums, I figured I would put up a full guide on Git integration here for myself and others.
In case you aren’t aware, Github is an online service that allows its users to post their source code both for private use and publicly for others to see, while Git is a service you can run on your machine locally that will store your commits and allow you to push them to Github at a later time. Integrating it to Pycharm is fairly easy and Pycharm has a host of tools for adding and updating your projects without ever leaving the IDE!
Linking your Github account
If you haven’t linked your Github profile, you can do it now while you have settings open. Open a new project and click File->Settings->Version Control->Github. You should make it to this window:

Here you can click “Generate API Token” to enter your credentials and link your account. Clicking Test should open a dialog box saying “Connection successful for user (username)”.
Linking Git
We’re going to be committing our projects to our local git repository so this step has to be successful. You can download git here:
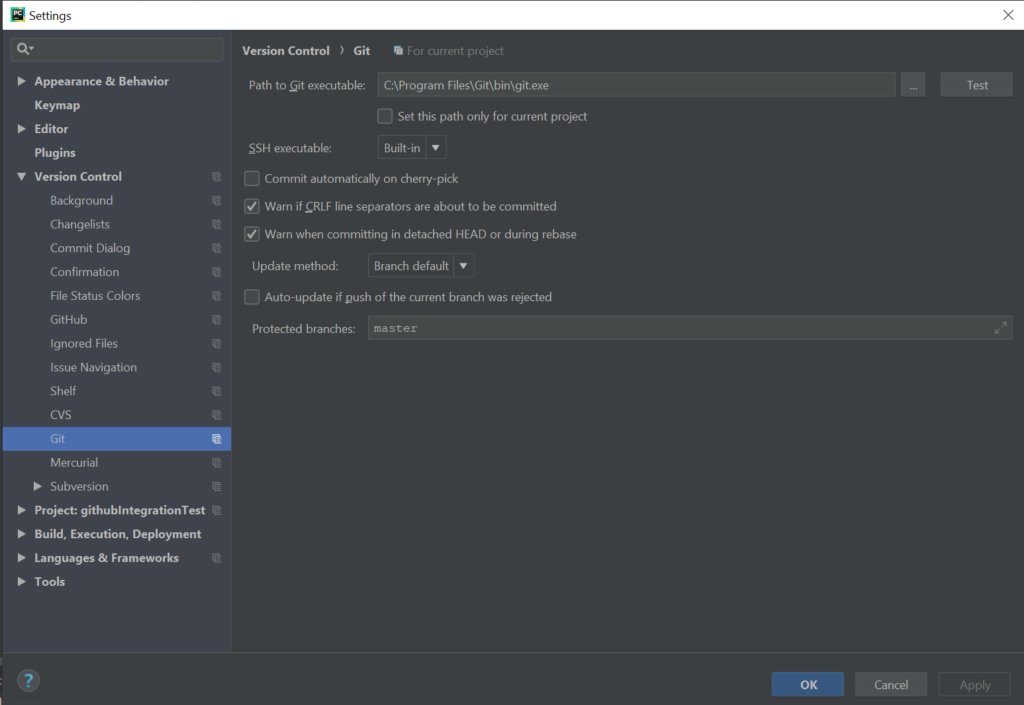
To link it to Pycharm, navigate to File->settings->Version Control->Git. Find the location of the git.exe you just downloaded and specify its path in the “Path to Git executable:” field. Clicking Test should open a dialog window displaying the version of Git you just downloaded. You can leave the other settings at their defaults. Click OK.
Creating a New Repository in Pycharm
From here, close the settings window and click the VCS->Enable Version Control Integration… in the top left corner. Select Git in the drop down box and click “OK”. If your Git settings from the previous step are successful, you should now have a few new buttons in the top right corner for updating and committing your files.
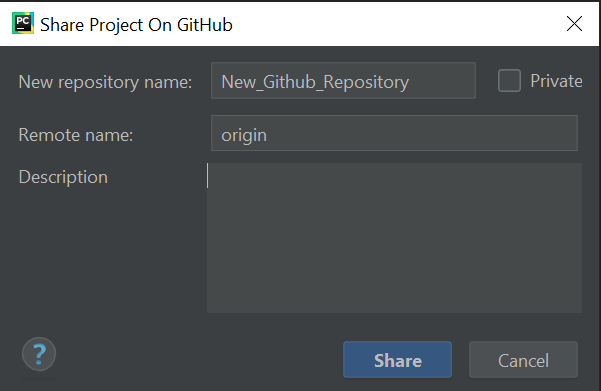
To create the actual repository in Github, navigate to VCS->Import Into Version Control->Share Project on Github. This will open a window where you can specify the new repository name and a short description of the project. Once you’ve filled this to your liking, click Share and select the files you want to add. Click commit.
Navigate to your online Github profile and you should see your new public repository!
Making New Commits and Pushing to Github
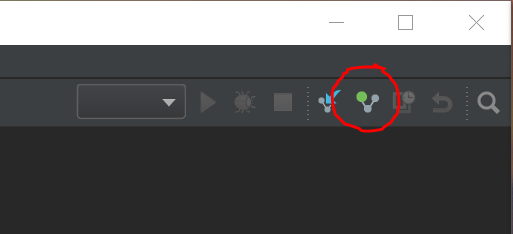
And finally, to make commits to your new repository, either click the Commit button with the green circle or in the VCS dropdown you used earlier. Adding a new file to your project should prompt you to add it to your commit automatically or just make sure it gets added when you create a new commit.
When you’ve finalized all your changes and click Commit, you’ll be greeted with the following window
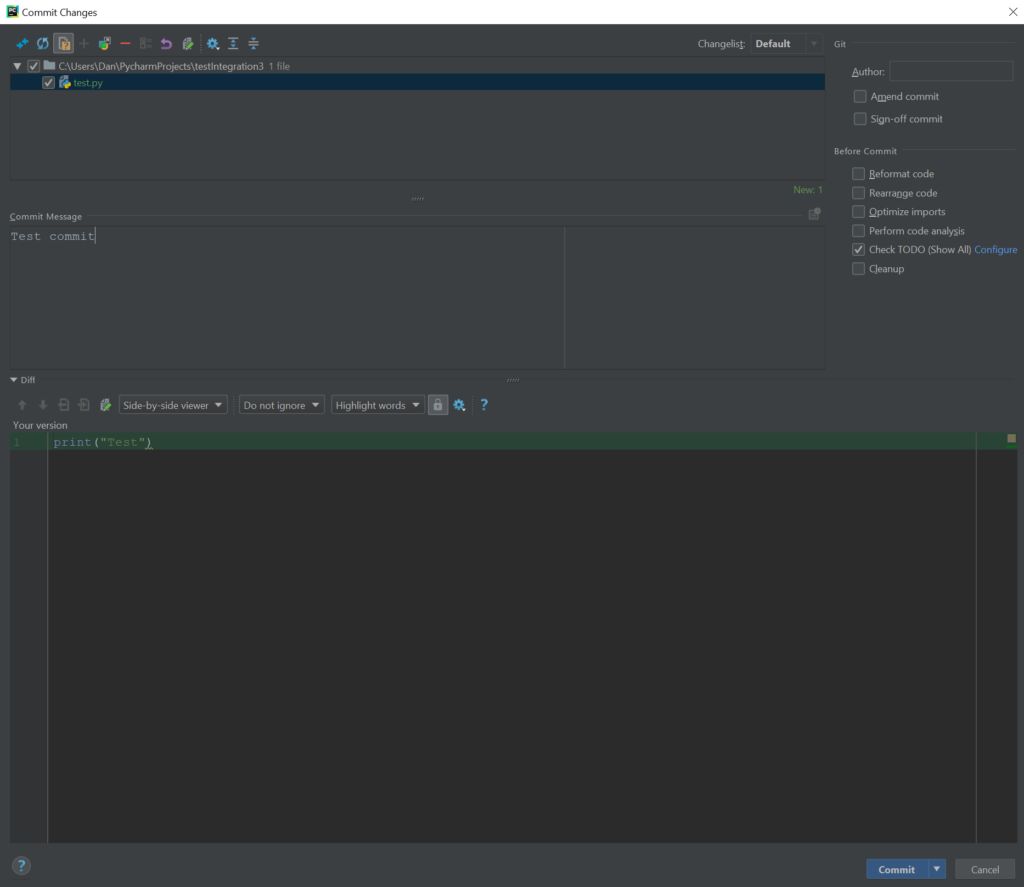
Here you’ll be able to specify what files you want to commit, provide a message about your changes and view how your file differs from previous commits if there are any. When you’re done making notes and checking your changes, click the blue Commit button in the bottom right corner. You’ve made a new commit! There is a catch however that tripped me up the first time I used this. While you did just make a successful commit, the changes are only saved in your local Git. In order to actually make them show up in Github, you have to push your changes.
In order to do this, browse to VCS->Git->Push. All the commits you’ve been making should show up in the window along with any files that have changes/are being added.
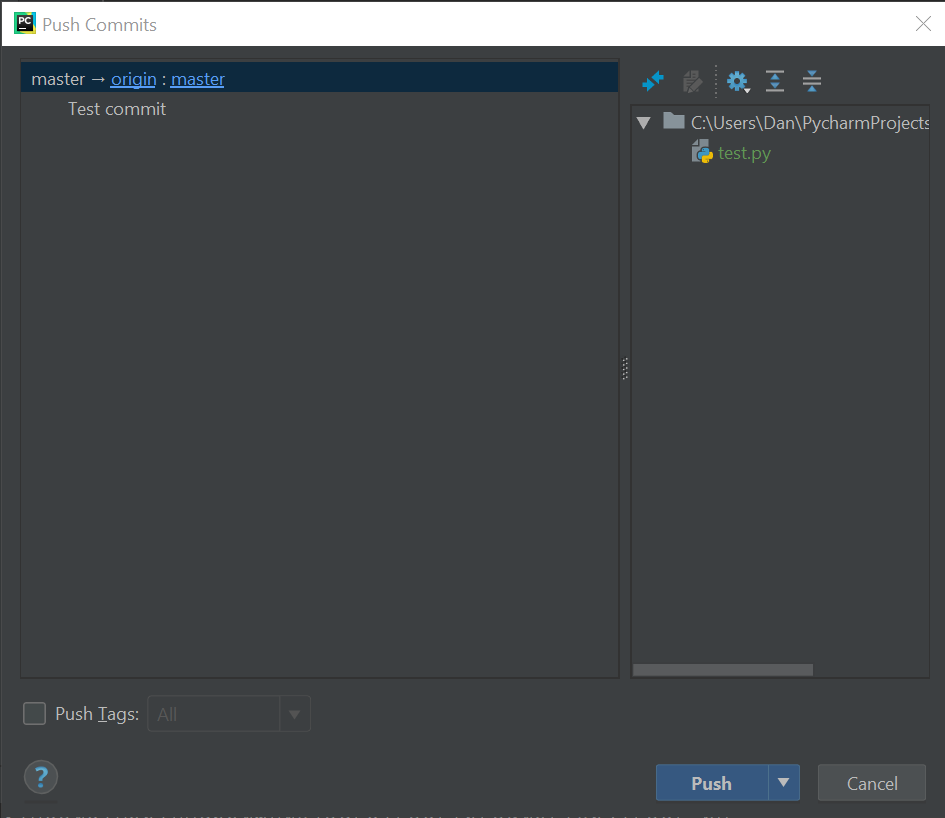
Once you’ve verified the commits, click the blue Push button in the bottom right corner.
And that’s it! All your commits have now been pushed to Github.